Want to grow koji at home? This comprehensive guide (followed by a koji rice recipe) will help you understand the basics of growing this fabulous “noble” mould.
Koji is used in the making of miso, soy sauce, amazake, and many other ferments.
This Japanese ingredient is currently a hit with chefs, adding a touch of umami and complex flavours to recipes.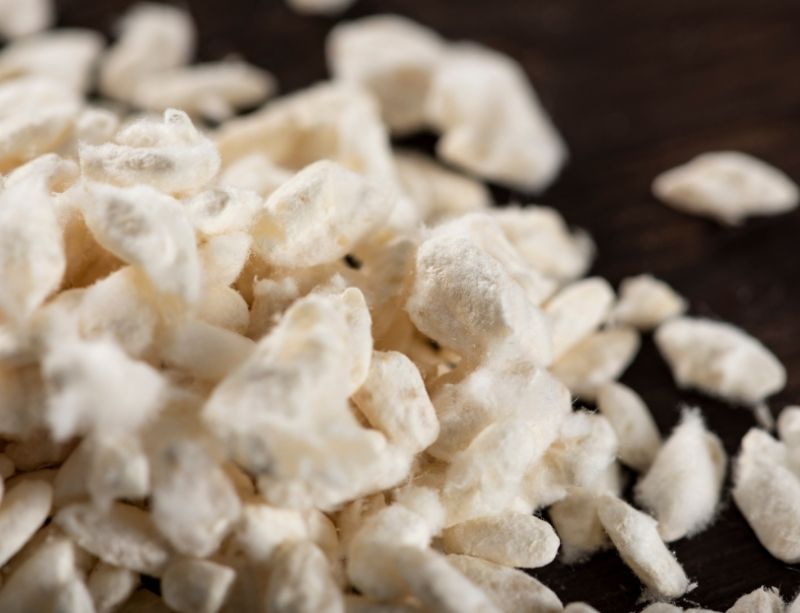
It is very versatile and introduces a vast world of fermentations and flavours!
Although you can buy ready-to-use koji, you can also grow it at home. With the right environment, koji takes only 48 hours to ferment.
Are you ready to dive into the fabulous world of koji?
Jump right away to any section:
- What is koji?
- How can I use koji?
- How to choose the right koji starter
- Choosing the right rice
- Choosing the right incubator
- Homemade koji recipe
- Troubleshooting
What Is Koji?
Koji is a fermentation made from grains or legumes (rice, soybean, etc.), using the microscopic fungus called Aspergillus oryzae.
You don’t eat koji as is. Instead, it is used as a basic ingredient in other ferments, such as shoyu (soy sauce), miso, sake, amazake, and other delicacies.
It is only recently that the culinary world has become fond of koji, using it for seasoning or to age foods by giving them an umami boost.
However, this noble mould was domesticated over 2000 years ago in Asia and is an essential part of the Japanese culinary culture.
Throughout the ages, it has been used to unlock the nutritional potential of legumes and grains.
Making Koji
To make koji, koji starter culture are seeded into a food source. Traditionally, rice or barley is used as a substrate for the spores.
Koji spores + grains + incubation = koji
If the conditions are right, the spores can develop and colonize the grains, forming a thick coat of mycelium.
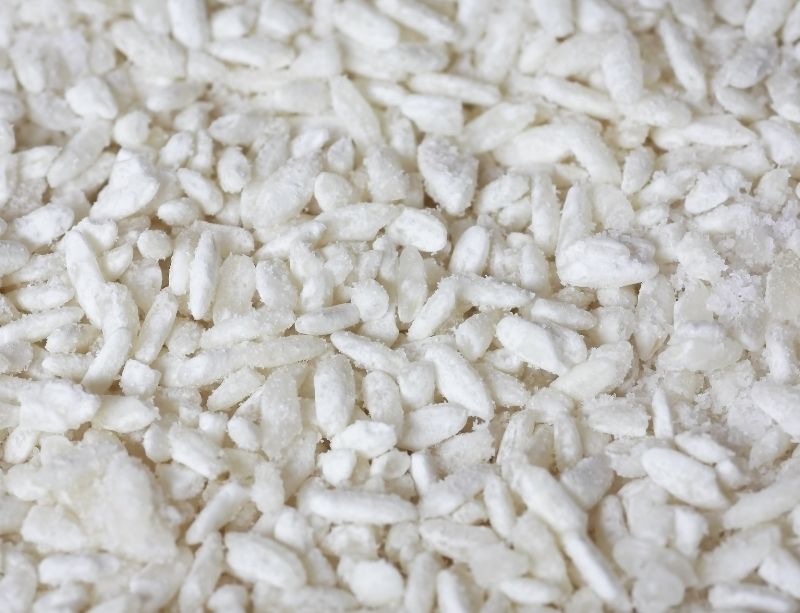
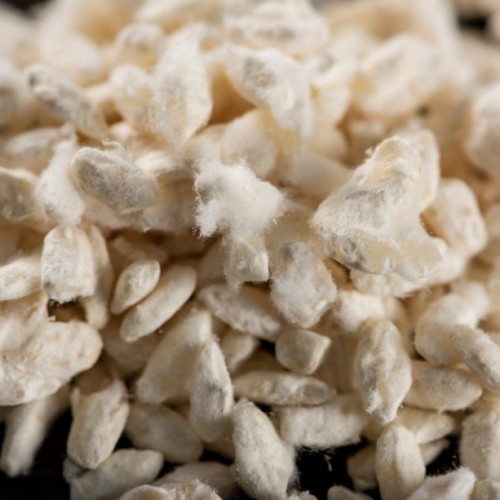
Within a few hours, the rice is covered with a white film that has a floral and fruity smell. This is koji mould forming!
As the mould grows, it will create a large number of enzymes to help it digest the grains.
These enzymes are key to all koji-based fermentations. They are what can turn a simple soybean paste into delicious miso!
It is also these enzymes that will develop the amino acids that create the umami taste, the fifth flavour, meaning “savoury taste” in Japanese.
How to Use Koji?
Koji has traditionally been used to produce a wide range of Asian foods, but it is also now being rediscovered by many chefs to enhance the flavour of all kinds of foods.
Traditional Koji Uses
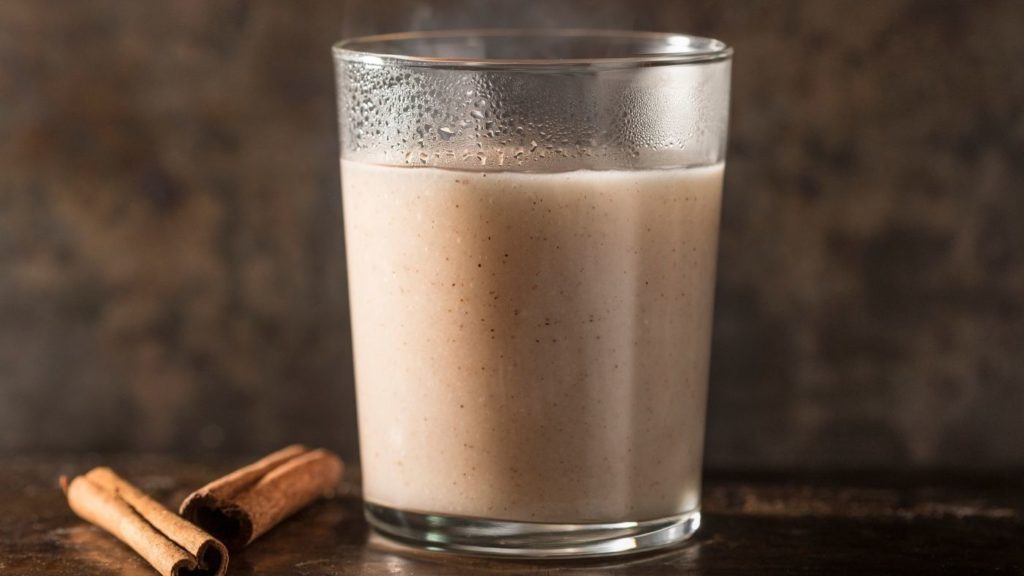
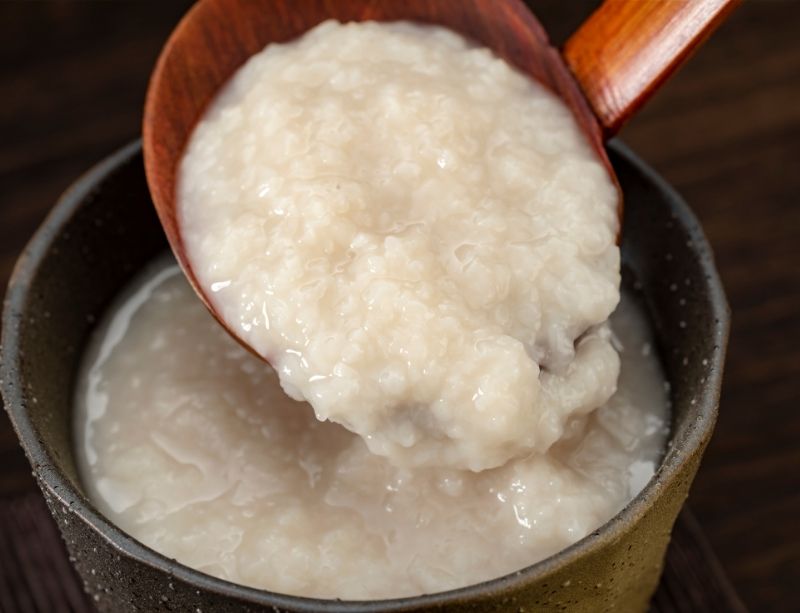
- Amazake: a thick drink made from rice (see our koji culture for amazake)
- Sake: an alcoholic drink made from amazake
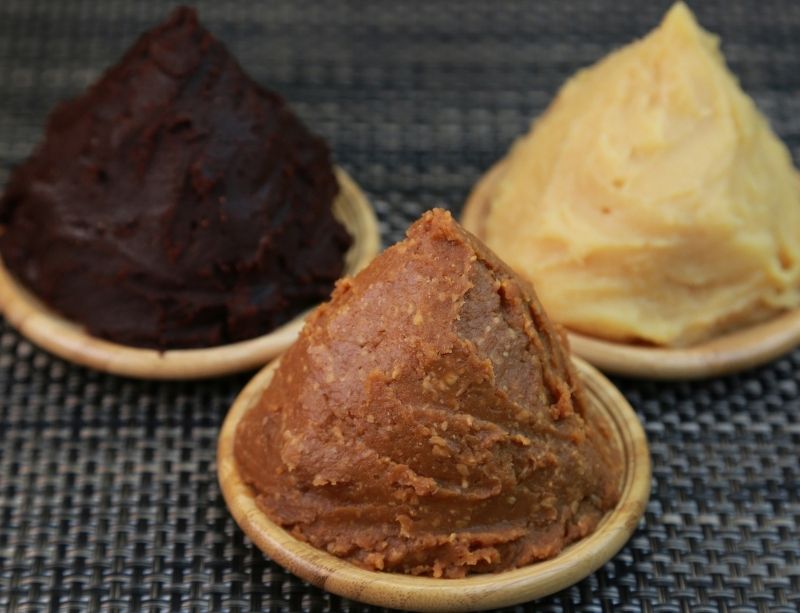
- Miso: fermented soybean paste used for soups, marinades, etc. (see our koji culture for miso)
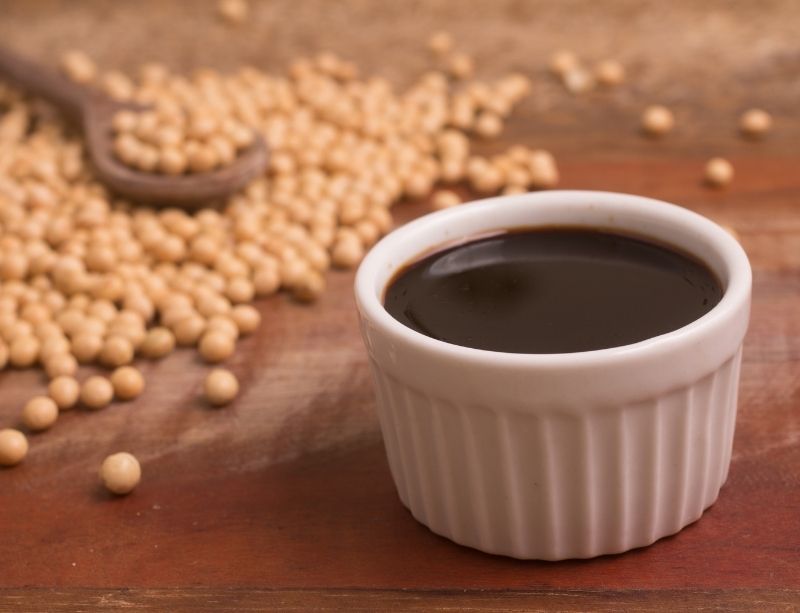
- Shoyu (soy sauce): a very common condiment used to season many dishes (see our koji culture for soy sauce)
- Shio koji: sauce used to season or marinate meats, vegetables, etc.
Revisited Koji Uses
- Fermented vegetables
- Tenderized and aged meats
- Vegan cheeses
- Garum and umami sauces: liquid condiments made from meat, seafood, or any other protein source
The world of koji is booming! Across the globe, innovative chefs are developing more and more recipes and techniques to use koji to its full potential.
Choosing the Right Koji Starter
There are several varieties of koji cultures, each producing different types of enzymes.
The two main types of enzymes produced are proteases (to digest proteins) and amylases (to digest carbohydrates). The proportions of these enzymes vary according to the strain.
One strain of koji can be used for different fermentations. If you use a koji culture for miso to make amazake, it will still work! However, you will get better results by choosing the right spores.
Koji Starters for Fermenting Proteins
To make protein-based fermentations (legumes, meat, etc.), you need a koji culture that produces a lot of proteases.
During fermentation, the enzymes will transform the proteins into amino acids. Amino acids are responsible for the well-known umami taste in food. This is where the addictive and delicious taste of miso, shoyu, and garum comes from!
For fermenting proteins:
⇒ Choose a koji starter for miso, or get a ready-made koji.
⇒ There are also specialized strains of koji for shoyu (soy sauce) where the mould can grow directly on the legumes.
Koji Starters for Fermenting Carbohydrates
To process carbohydrates (rice, barley, etc.), you need a koji culture that produces amylase enzymes. The long chains of starch and carbohydrates will be separated into simple sugars.
You will then be able to make amazake and sake.
To ferment carbohydrates:
⇒ Take a strain of koji amazake, or opt for ready-made powdered koji.
Choosing the Right Rice for Koji
Although koji can be grown on barley, soybean, or even popcorn (!), rice is the perfect substrate for starting.
Choose white rice that no longer has its protective husk (bran).
You can use either short or long grain rice. Sushi, arborio, basmati, and jasmine rice are all good options.
Brown rice takes a little more effort, as the husk prevents the koji mould from accessing its nutrient source.
Choosing the right incubator
Koji mould thrives when placed in a warm and relatively humid environment. It should be kept between 27°C and 35°C (80°F and 95°F) for the first 12 hours.
There are several methods to achieve this:
- A turned-off oven with the light on
- A cooler with a seedling heating mat
- An insulated box with bottles filled with hot water
- A large water container with a sous-vide precision cooker (thermo circulator)
- A dehydrator
- Any other equipment to maintain a stable temperature
- A thermometer is essential to know the temperature of the koji and to make adjustments if necessary.
Be careful! During fermentation, the koji mould creates its own heat. It must be monitored to prevent it from going above 35°C (95°F). It could overheat and die.
Homemade Koji Recipe
Equipment
- 80% alcohol or disinfectant
- Food steamer or steamer basket
- Small fine sieve
- Thermometer
- Incubator
- Large glass or stainless steel dish
- Plastic wrap (optional)
Ingredients
- 500 g white rice
- 1 g koji culture
- 20 g flour (white, rice, corn starch)
Steps
Preparing and Cooking the Rice
- Rinse the rice in cold running water until it becomes clear.
- Cover the rice with water and let it soak for 12 hours at room temperature. Drain.
- Put about 5cm of water in the bottom of a cauldron. Put a steamer basket with holes on top.
- Place a cloth or several layers of cheesecloth in the bottom of the steamer basket.
- Pour the rice onto the cloth and spread it out flat to cover the bottom of the steamer basket. Fold the cloth over to wrap the rice. Close the lid of the cauldron.
- Bring the water to a boil on medium heat and steam the rice. Check from time to time that there is still water in the pot during cooking. Cook the rice for 1 hour, or until it loses its opacity, is shiny, and has a rubbery texture. If the whole grain is a little translucent, it is cooked!
- Wash your hands well. Disinfect the equipment and your work surface. Allow it to dry.
- Place the rice in a clean bowl, making sure to crumble any lumps with your hands. Let it cool to 35°C (95°F), stirring regularly by hand to help it chill. This traditional technique helps limit the moisture in the rice.
(Alternative Cooking Method:)
- Rinse and soak as directed. Cook the rice in boiling water until al dente, i.e. still firm to the bite. Drain the rice and spread it out on a cloth, then let the steam evaporate.
- The rice grains should be flaky and dry to the touch. They should separate easily from each other.
Inoculation of Rice
- Gently place the koji spores in a small bowl. Be careful! The spores are light and can easily float away.
- Gently add the flour on top. Mix without lifting the spores.
- Sieve the flour-spore mixture over the entire surface of the rice and mix well (always using your hands, as tradition demands) to distribute the spores evenly.
- Line the bottom of an airtight container with a clean cotton cloth and spread the rice over it.
- Cover with another cloth and put the lid on, but don't close it airtight.
- Alternatively, spread the inoculated rice in a large glass dish and cover it with plastic wrap. Poke a few holes at the edges with a knife to ensure air circulation.
Incubation of Koji
- Place the container in the incubator at a temperature between 27 and 35°C (80 and 95°F).
- Check the temperature, ideally with a digital thermometer inserted directly into the rice (to measure the temperature of the rice and not the air in the incubator). Adjust the temperature if necessary.
- Every 8 to 12 hours, take the rice out. Check that the grains are not dry (hardened) or wet (shiny) and that they still have a rubbery texture. Mix the grains well with your (clean) hands, taking care to crumble any lumps. If the grains are too dry and have hardened, spray a little water and mix well. If necessary, wipe off any condensation.
- After 12 to 16 hours in the incubator, there should be a slightly sweet smell and specks of white foam starting to form on the rice grains.
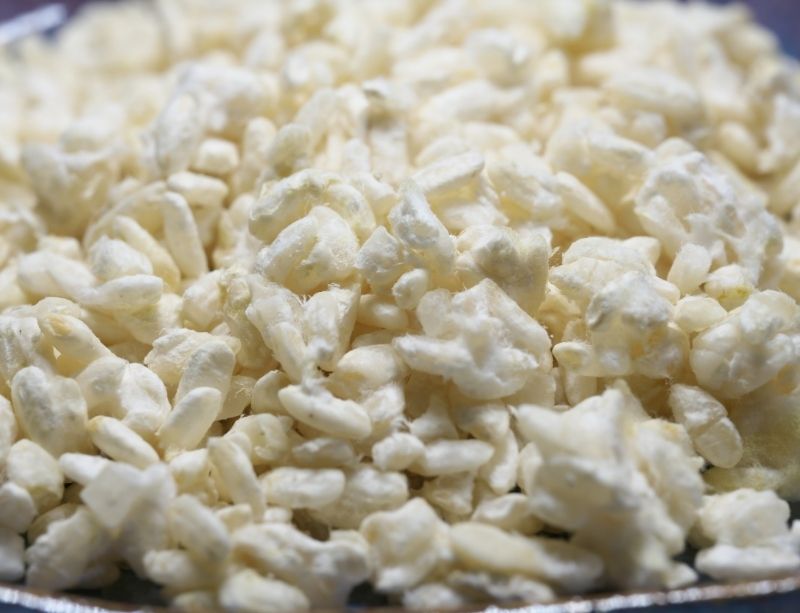
- After 30 to 36 hours in the incubator, the grains should be covered with a fine white film and should smell like something between mozzarella and vanilla, with a hint of dirty socks!
- After 36 to 48 hours in the incubator, the rice will almost be completely covered with white threads.
- When the slightest green or yellowish tinge appears on a few grains, the koji is ready. This means that it is starting to produce spores.
- Spread the koji in a thin layer in an airtight container and refrigerate. Koji produces heat as it ferments, so it should be spread into a layer less than 3 cm (1⅛ in.) thick to ensure that fermentation is quickly and evenly stopped.
Notes
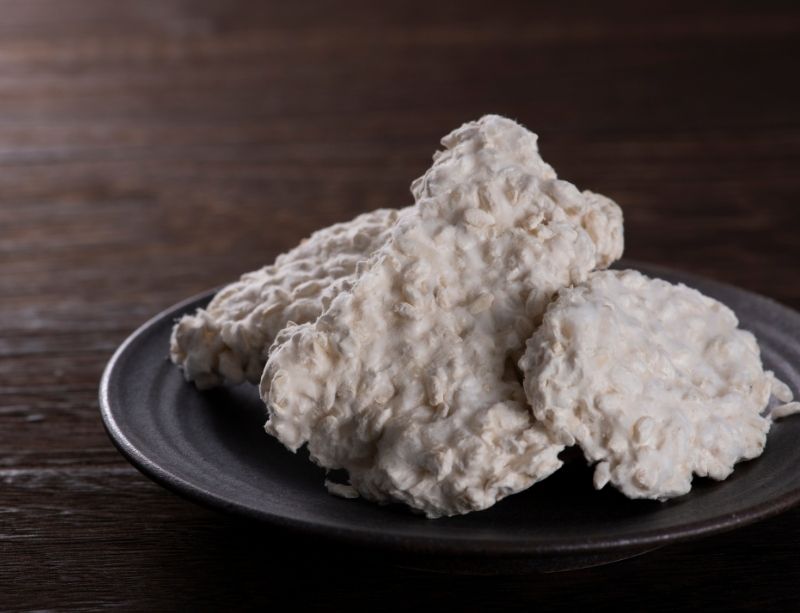
Use the koji to make miso, amazake, shio koji, and all sorts of other tasty fermentations.
Koji can be stored in an airtight container in the fridge for one month, and in the freezer for up to six months.
It is also possible to dry the koji in a dehydrator, at a maximum temperature of 45°C (113°F), to preserve the enzymes that will be used in future fermentations.
Troubleshooting FAQ
Can Koji Be Grown on Different Grains?
Yes, rice is perfect to start with, but koji can be grown on many types of grain: pearl barley, buckwheat, quinoa, sorghum… and even directly on legumes!
When cooking, make sure the grains are cooked al dente, without too much moisture.
Whole grains that still have their germ (brown rice, hulled barley, wild rice) require a little more effort. The koji spores cannot penetrate the shell and get into the grain. Therefore, the grains must be coarsely ground or steamed until they open up.
How Many Spores Should Be Used?
Different methods and recipes have different ratios of spores and substrate (rice). This recipe was developed for a high success rate, but the number of spores could be reduced to ½ tsp. per 500g of dry rice.
In any case, make sure to mix thoroughly the spores with the rice when inoculating.
What Type of Flour Should Be Used to Disseminate Koji Spores?
Flour is used to help disperse the spores in the rice. It also provides a quick food source for the spores, which can start growing faster. In addition, flour absorbs excess moisture in the substrate.
Rice flour, wheat flour and corn starch are all ideal choices.
How Do I Know if my Koji Is Successful?
A successful koji is white and has a fruity, floral smell. Visually, it has a “fuzzy” appearance. The mould filaments create a sort of cloud around the grains.
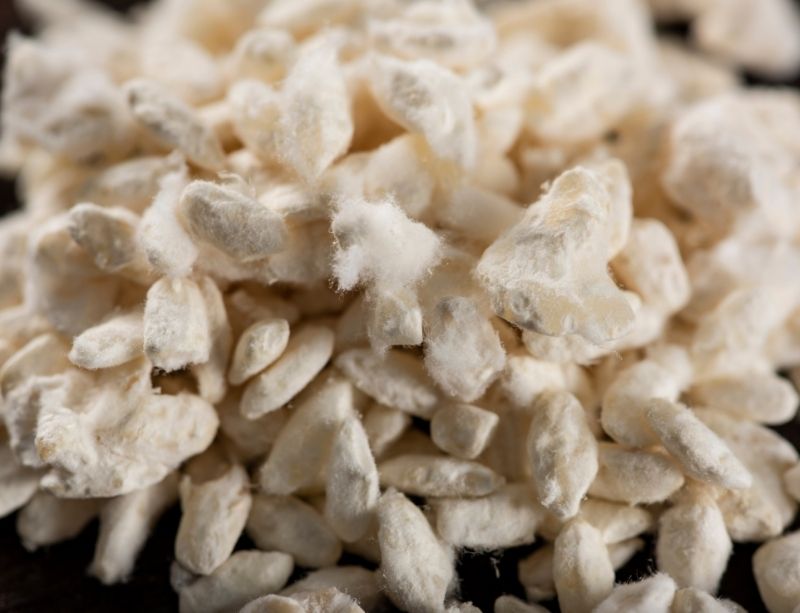
If, on the other hand, your koji is very wet and has a bad smell or strange colour (pink, orange, black), something has gone wrong. Trust your instinct and throw it in the compost!
Why Did My Koji Grow Poorly?
If your koji mould did not grow, it is because its environment was not suitable.
If the incubation temperature is too low, the spores may take longer to colonize the rice, allowing the bad microbes to settle in first.
On the other hand, if the temperature exceeds 35°C (95°F) for too long, the koji mould could die. During fermentation, it creates its own heat. The temperature must therefore be carefully monitored to avoid overheating.
Another reason is the lack of moisture. If the grains are too dry, the koji culture will not grow.
Finally, perhaps the spores are too old. Make sure you choose quality spores to inoculate your rice.
Why Is My Koji Green or Yellow?
When koji mould ferments for too long, it creates green or yellow spores to reproduce itself. Unfortunately, these spores give a bad taste to fermentations.
If the green parts are isolated, remove them, and use the rest. If the entire koji is green, unfortunately, you will have to throw it away in the compost and start again.
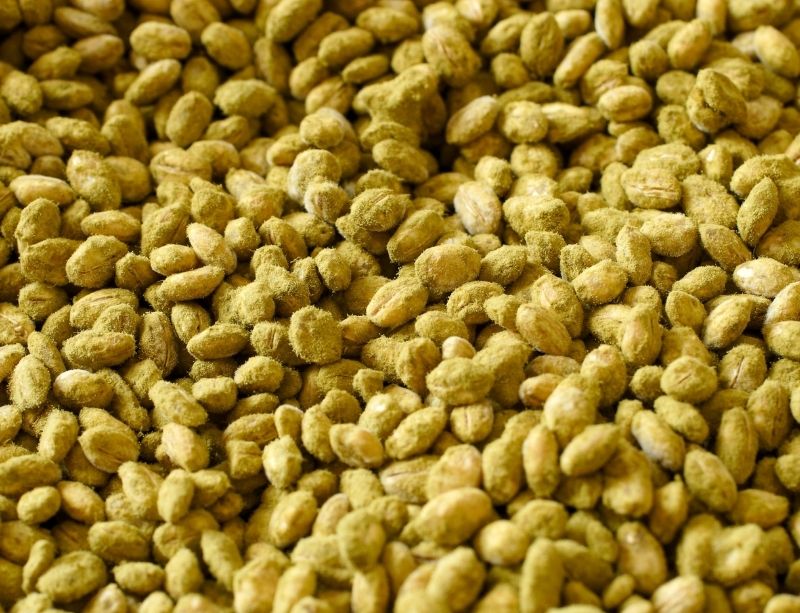
Note: We do not recommend using this sporulated koji to reseed new rice. The risk of mutation or contamination is too big. Use spores from a reliable source.
Get Started!
- Buy koji spores
- Buy ready-to-use rice koji or a Miso Making Kit
- Read the Guide to making amazake and the Guide to Make Miso
- Buy cultures and books on legume fermentations
- Check out our favourite koji books:
