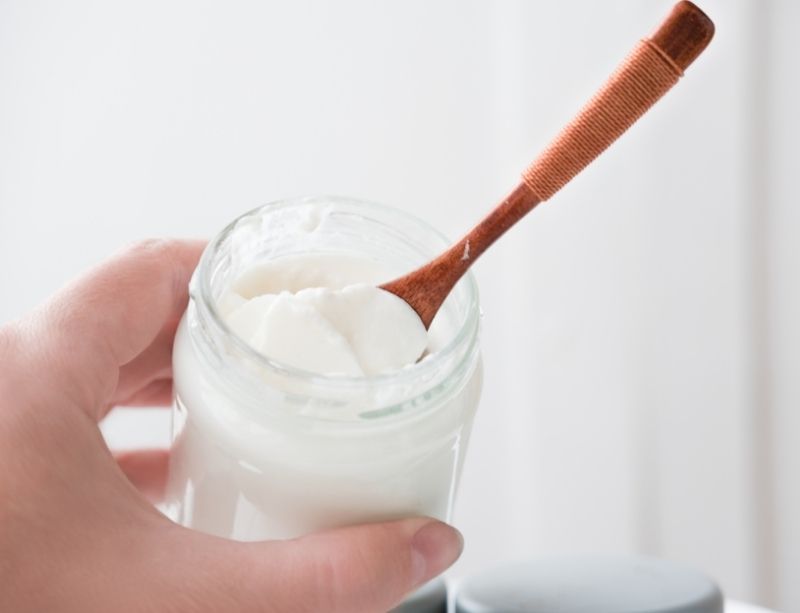
Is it possible to make homemade yogurt without a yogurt maker? Of course, it is! Dipping your spoon into a nice smooth yogurt you made yourself is possible, even if you don’t have this appliance at home.
In this article, we will explore 5 accessible alternatives for making yogurt at home, even if you don’t have a yogurt maker.
In addition, we’ll show you a great alternative to traditional yogurt: yogurts that ferment at room temperature!
Ready? Let’s get started!
Why Does Yogurt Need Heat?
Not all yogurts can be labelled as yogurt. In order to qualify, the yogurt starter culture must at least contain the Lactobacillus bulgaricus and Streptococcus thermophilus bacteria types.
These are the microorganisms that turn milk into yogurt. Without them, there would be no fermentation!
These bacteria need heat to ferment, so they are known as thermophilic. If it is too cold, they will not reproduce!

The yogurt culture should be kept at a temperature between 41 and 45°C (106-113°F) for 4 to 8 hours. However, be careful not to exceed 45°C! The bacteria could die (for more information, see How to make homemade yogurt).
A yogurt maker, designed to maintain fermentation at a given temperature, is useful in this case. However, it is entirely possible to make your own yogurt without a yogurt maker.
5 Alternatives for Making Yogurt Without a Yogurt Maker
In this section, we present 5 alternatives to the yogurt maker, to make homemade yogurt without the appliance. There are many others!
If you are not sure of your technique, test it with a bowl of water. Take the temperature of the water every hour to see if it stays constant.
In any case, don’t forget to use a cooking thermometer to keep an eye on the temperature of your yogurt.
1. In a Turned-off Oven
The oven can easily be used as an incubator for making homemade yogurt. You can place it in your oven with the light on and the door closed to generate a heat source. Note, however, that this will not work with a LED bulb oven!
Before starting the fermentation process, you can test the actual temperature of your oven with the bowl of water method mentioned above. If the light gets too hot, open the door slightly to let the heat dissipate.
Remember to put a note on the door so that no one in the household accidentally turns on the oven!
2. In a Dehydrator
Large dehydrators are a great alternative to yogurt makers and are easy to use.
Put the milk from the yogurt culture in well-sealed glass jars and place them in the dehydrator. Set the temperature to 42°C, and you’re done!
3. In a Cooler
A small camping cooler is easy to turn into a yogurt incubator. Simply place a few bottles of hot water around the inoculated milk container.
You can also use a small seedling heat mat at the bottom of the cooler. In this case, monitor the temperature of the yogurt to prevent it from accumulating too much heat.
4. In an Insulated Container (Thermos Style)
Quality insulated containers (Thermos style) can keep a liquid at the same temperature for several hours. This makes them ideal for making yogurt! They are readily available on the market in 1L and larger sizes.
Simply pour inoculated milk at 42°C into the thermos. To ensure that the temperature remains as constant as possible, wrap the thermos with a towel.
5. In a Pressure Cooker
Pressure cookers, also known as multi-cookers, often have a “yogurt” mode that maintains a constant temperature during fermentation. How convenient!
You can make your own yogurt by preheating the milk in the pressure cooker for about an hour, before inoculating it with the yogurt culture.
For best results, we recommend heating the milk in another pot and letting it cool before inoculating it and transferring it to the pressure cooker. For more information, see our full recipe for homemade yogurt.
How to Make Yogurt Without Heat?
Can’t be bothered keeping your yogurt warm? Know that there are yogurts that ferment at room temperature!
The microorganisms they contain are different from those in regular yogurts and work at colder temperatures. The word “mesophilic” (that prefers moderate temperature) is used to describe them.
Compared to regular yogurts (called “thermophilic”), mesophilic yogurts take longer to ferment. But they are still delicious and much easier to prepare!
Each of these traditional mesophilic yogurts is prepared the same way:
- Mix a little mesophilic yogurt (or from a starter) with milk
- Let it stand for 24 hours at room temperature
- Refrigerate
- Enjoy!
For more information, check out the full recipe for mesophilic yogurt.

Here are our favourite traditional yogurts:
Milk Kefir: A drinkable yogurt made from milk kefir grains. More liquid than yogurt, it has a tangy taste and is sometimes effervescent.
Viili: Very mild Scandinavian yogurt with a slightly acidic taste. It has a stringy, soft, and smooth texture.
Matsoni (Caspian Sea Yogurt): Originally from Armenia, this yogurt is soft and delicate.
Filmjölk: A Finnish yogurt with a light buttery taste. Delicious with fruit!
Piima: A drinking yogurt of Nordic origin.
To find out more about these exotic yogurts that ferment at room temperature, read our article on traditional yogurts around the world.

